
Blind OS command injection -Portswigger (LAB-2) | INFOCODX

 Hey there, how are you all? I hope everything is going smoothly and everyone is doing fine. Today, we're diving into the exciting world of OS Command Injection labs from portswigger. Get ready for some hands-on action! 

So what is blind OS command injection?

I've already covered OS command injection in my previous blog post. Blind OS command injection works similarly, but instead of receiving output back to the web app, we don't get any output. So, how can we determine if there is a blind OS command injection? One technique is to use time delay. By using an OS command that takes some time to execute, we can test for it.


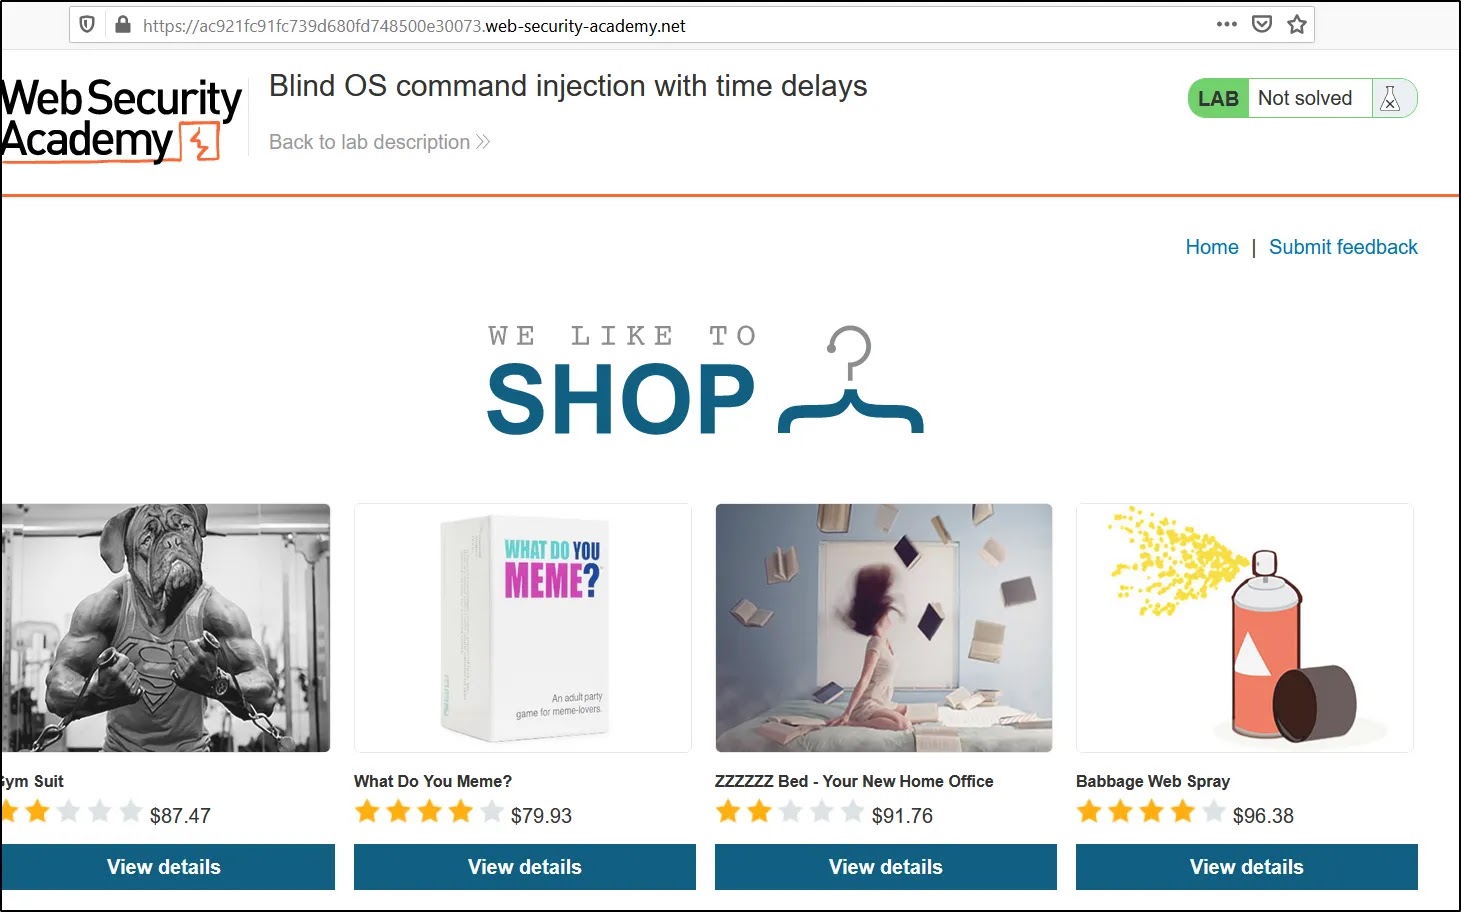
LAB 2 : Blind OS command injection


When we access this lab, a web application will be presented to us. As shown below, there is a feedback form available for submission.


Firstly, let's go ahead and explore that particular feature, utilizing it to conduct a thorough analysis. It's worth noting that there is a dedicated functionality allowing users to submit their valuable feedback. Now, let's delve into the workings of this feedback form. To better understand its functionality, I decided to input a random value into the form and submit it. Subsequently, I captured the request on the burp suits for further analysis.


 When we analyze the feedback form in burp suite, we notice that there are several parameters being passed along with user input. It is crucial for us to thoroughly test all of these parameters for potential command injection. Since this lab focuses on blind command injection, we need to perform tests using a command that takes some time to execute. This way, we can confirm if our command has been successfully executed.


When it comes to detecting blind OS command injection, the ping command is a valuable tool. By sending a minimum of 10 packets, it will take some time to complete, giving you the opportunity to assess the situation. I initially attempted using the name parameter, but unfortunately, it didn't work. However, when I switched to the email parameter, we were able to achieve the desired output due to the lack of proper user input validation.

command : ping -c 10 127.0.0.1


The picture below clearly shows that our lab is solved when we send the request and it performs exactly as expected.


Hooray!!!!!  We've made it! I hope you've found something valuable by dedicating your time to this. If you have any uncertainties, feel free to leave a comment.

Happy hackers!!

Comments

Popular posts from this blog

Storm-Breaker, enables the utilization of social engineering techniques to access webcams, microphones, and location finders

  Phishing represents a cyber attack method in which attackers aim to deceive individuals into revealing their personal information, such as login credentials or credit card numbers, by posing as a reputable entity, such as a bank or a social media platform. This fraudulent activity typically occurs through emails, text messages, or social media posts that contain a link to a counterfeit website or request personal information. Phishing attacks can be highly sophisticated and challenging to detect, often resulting in serious consequences like financial loss, identity theft, or unauthorized access to sensitive data. It is crucial to be vigilant about the signs of a phishing attack and take measures to protect both yourself and your personal information. Storm-Breaker  a command-line tool written in python, has garnered a strong following within the social engineering community. Its primary purpose is to provide access to webcams , microphones , and location finders . Setting up Storm-

Mr Robot 1 | Vulnhub.com CTF Walkthrough | INFOCODX

My write-up for Mr-Robot: 1 at Vulnhub.com is as follows. About vulnhub.com Vulnhub is a website that caters to the security community and provides them with training environments. It presents a diverse range of virtual machines and networks that can be downloaded to enhance one's cybersecurity skills in both offensive and defensive aspects. Disclaimer: The information, techniques, and tools presented in this document are intended solely for educational purposes. Any utilization of the content within this document is at your own discretion, and I cannot be held accountable for any harm inflicted upon systems or individuals legally. Engaging in the unauthorized use of the tools and techniques outlined in this document to target individuals or organizations is strictly prohibited by law. It is your responsibility to adhere to all relevant local, state, and federal regulations. I disclaim any liability and will not be held responsible for any misuse or harm resulting from the applica

Linux Fundamentals Part 2 | TryHackMe: Walkthrough | INFOCODX

  Simplified and beginner-friendly documentation of the Linux Fundamentals Part 2 Room on TryHackMe, featuring a step-by-step guide and answer key. Room URL:  Linux Fundamentals Part 2 Task 1 (Introduction) Ready to begin? This area will guide you through flags, arguments, advanced filesystem information, and permissions! Nothing more to do here but proceed to part 2! Task 2 (Accessing Your Linux Machine Using SSH) To proceed to task 3, it is crucial that you closely follow TryHackMe 's guide, as this task is highly specific to their platform. Task 3 (Introduction to flags and switches) T erminal commands often accept arguments, which can be provided by using a hyphen ('-') followed by a keyword, commonly referred to as flags or switches. By default, commands perform their usual behavior. For example, the "ls" comma nd displays the contents of the current directory without showing hidden files. To modify command behavior  By using the -a option (--all), our output